

Greetings to you and thank you for stopping by the BRI Blog! If you have been buried in snow for the recent week, I hope the power has remained on and you have been able to keep warm. All that snow is beautiful, but it sure causes a struggle!
Janette here giving you a sneak peek of the card I made for my Valentine. I have been married to my one and only for 20 years. Even though we take comfort in being by each other's side, a gentle reminder of one's love is always of value.

This card was simple, albeit a bit time consuming to make. I stamped the entire A2 sized card stock with the umbrella from the My Favorite Things All Heart stamp set. Originally, there are heart shaped rain drops attached to the umbrella, but I easily trimmed those off and set them aside. To achieve this dimensional effect, start with the umbrella you want in the front and stamp it first. Then, mask it and continue to stamp the rest from bottom to the top. [TIP: Full Adhesive Post-It notes make for fab masking paper! You can even cut through multiple layers at one time.] The only area I needed precise was the top arch of the umbrella, the rest of the mask was lazily chopped off (work smarter, not harder :). Next, I colored the background umbrellas with Copic markers in C0, C2 and C3. The red umbrella in RV29, R39 and R35 with a dash of Wink of Stella and a coat of Irresistible Shimmer Pico (Glossy Accents would suit just as well).
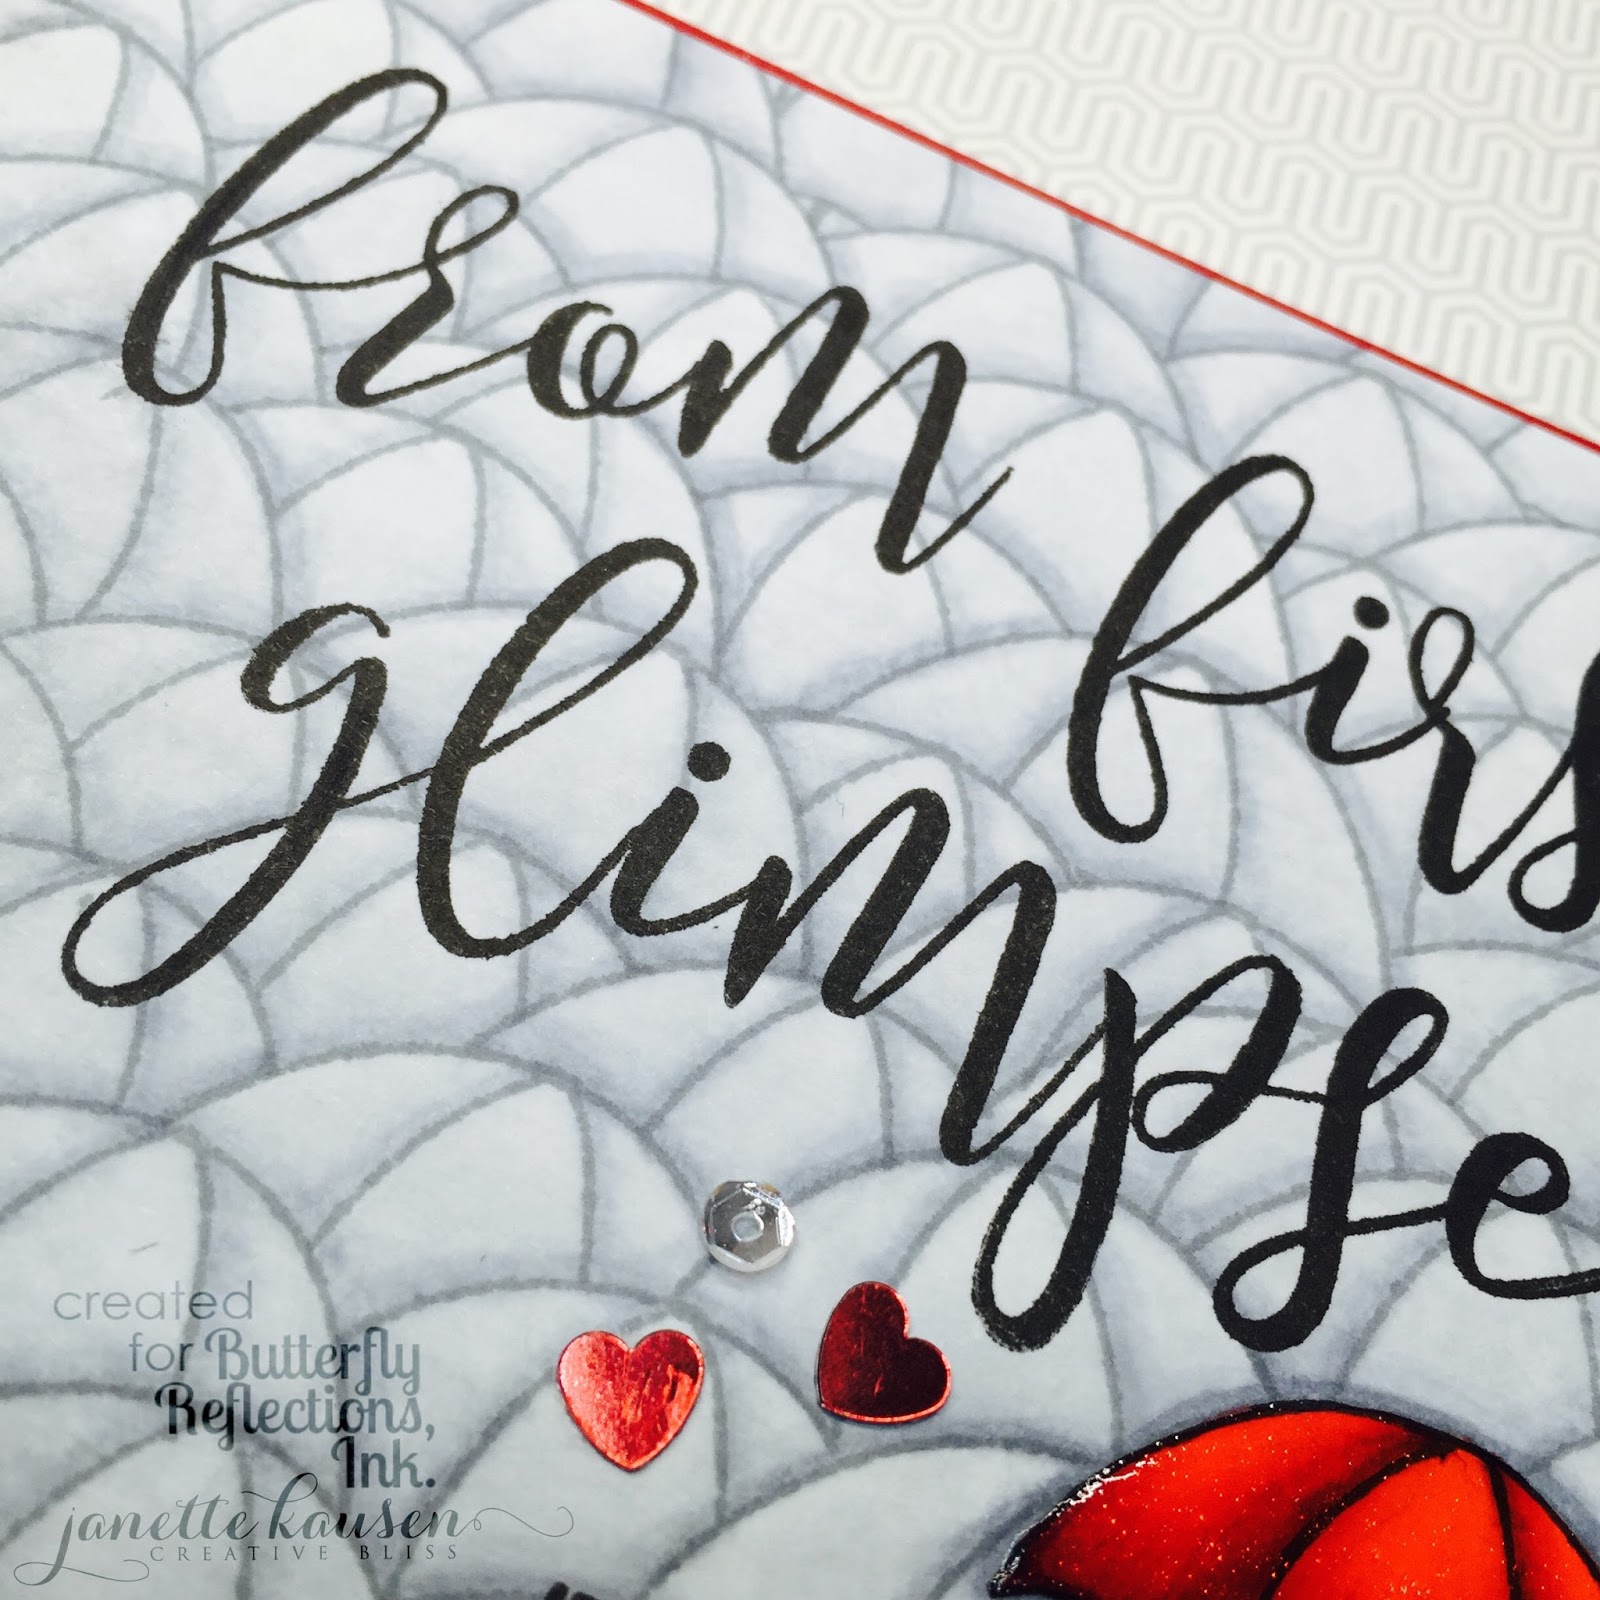
If you have not seen the new Concord and 9th Sophisticated Script stamp set before this post, gasp! If it isn't on your wish list yet, it should be! Keep it close at hand, I bet you reach for it often. I know I do already! I was shocked at how easy it was to use. I had thought it would be difficult to line them up and make them look as though it was written with one stroke. Not so! I freehanded a trial of "from" one time on scrap paper, that's it and then I just went for it. The kerning, tilt and bounce is so easy to manipulate. Ah, is that a chorus of angels I hear?! Well done Concord & 9th, well done!
After stamping "from first glimpse" in Onyx Black Versafine, do the same with with "It Has Always Been You" from the MFT All Heart set.

Finally, pop the card front with your favorite method and adhere to red cardstock, then base. Do add the Pico and sequins at the very last to avoid any mishaps!
Truly, if you make cards, mail them! You do not need a reason. The simple unexpected sunshine may just brighten a soul.
Happy days to you and yours. Thank you for stopping by!
Such a beautiful card!
ReplyDeleteWhat a STUNNING card!!!
ReplyDelete