
Happy Thursday crafty friends! Ashley D. here! Happy Groundhog’s Day a little early – It’s
February 2nd for everyone out there that doesn’t celebrate it like
us. It’s been a family holiday of ours
for decades. A tradition begun by my
late father as a replacement for Valentine’s Day - a holiday already celebrated
by his mother. My Dad’s quirky sense of
humor made Groundhog’s Day the perfect alternative. As long as can remember it was his special holiday
to honor his girls – my mother, grandmother, and I. And it’s a tradition I’ve carried on to this
day with my own family. So when, Lawn Fawn
released their new Let’s Toast Pull Tab Add-On, I knew exactly what little
critter I wanted to pop-up!

For my
groundhog I chose to use the seated bear from Lawn Fawn’s Beary Happy Holidays. I stamped him on Copic X-Press
It Blending Card with Memento Tuxedo Black Ink, colored him with Copic markers
(E31, E33, E37, E43, E50, E51, R00. E93), and cut him out with the coordinating
die.
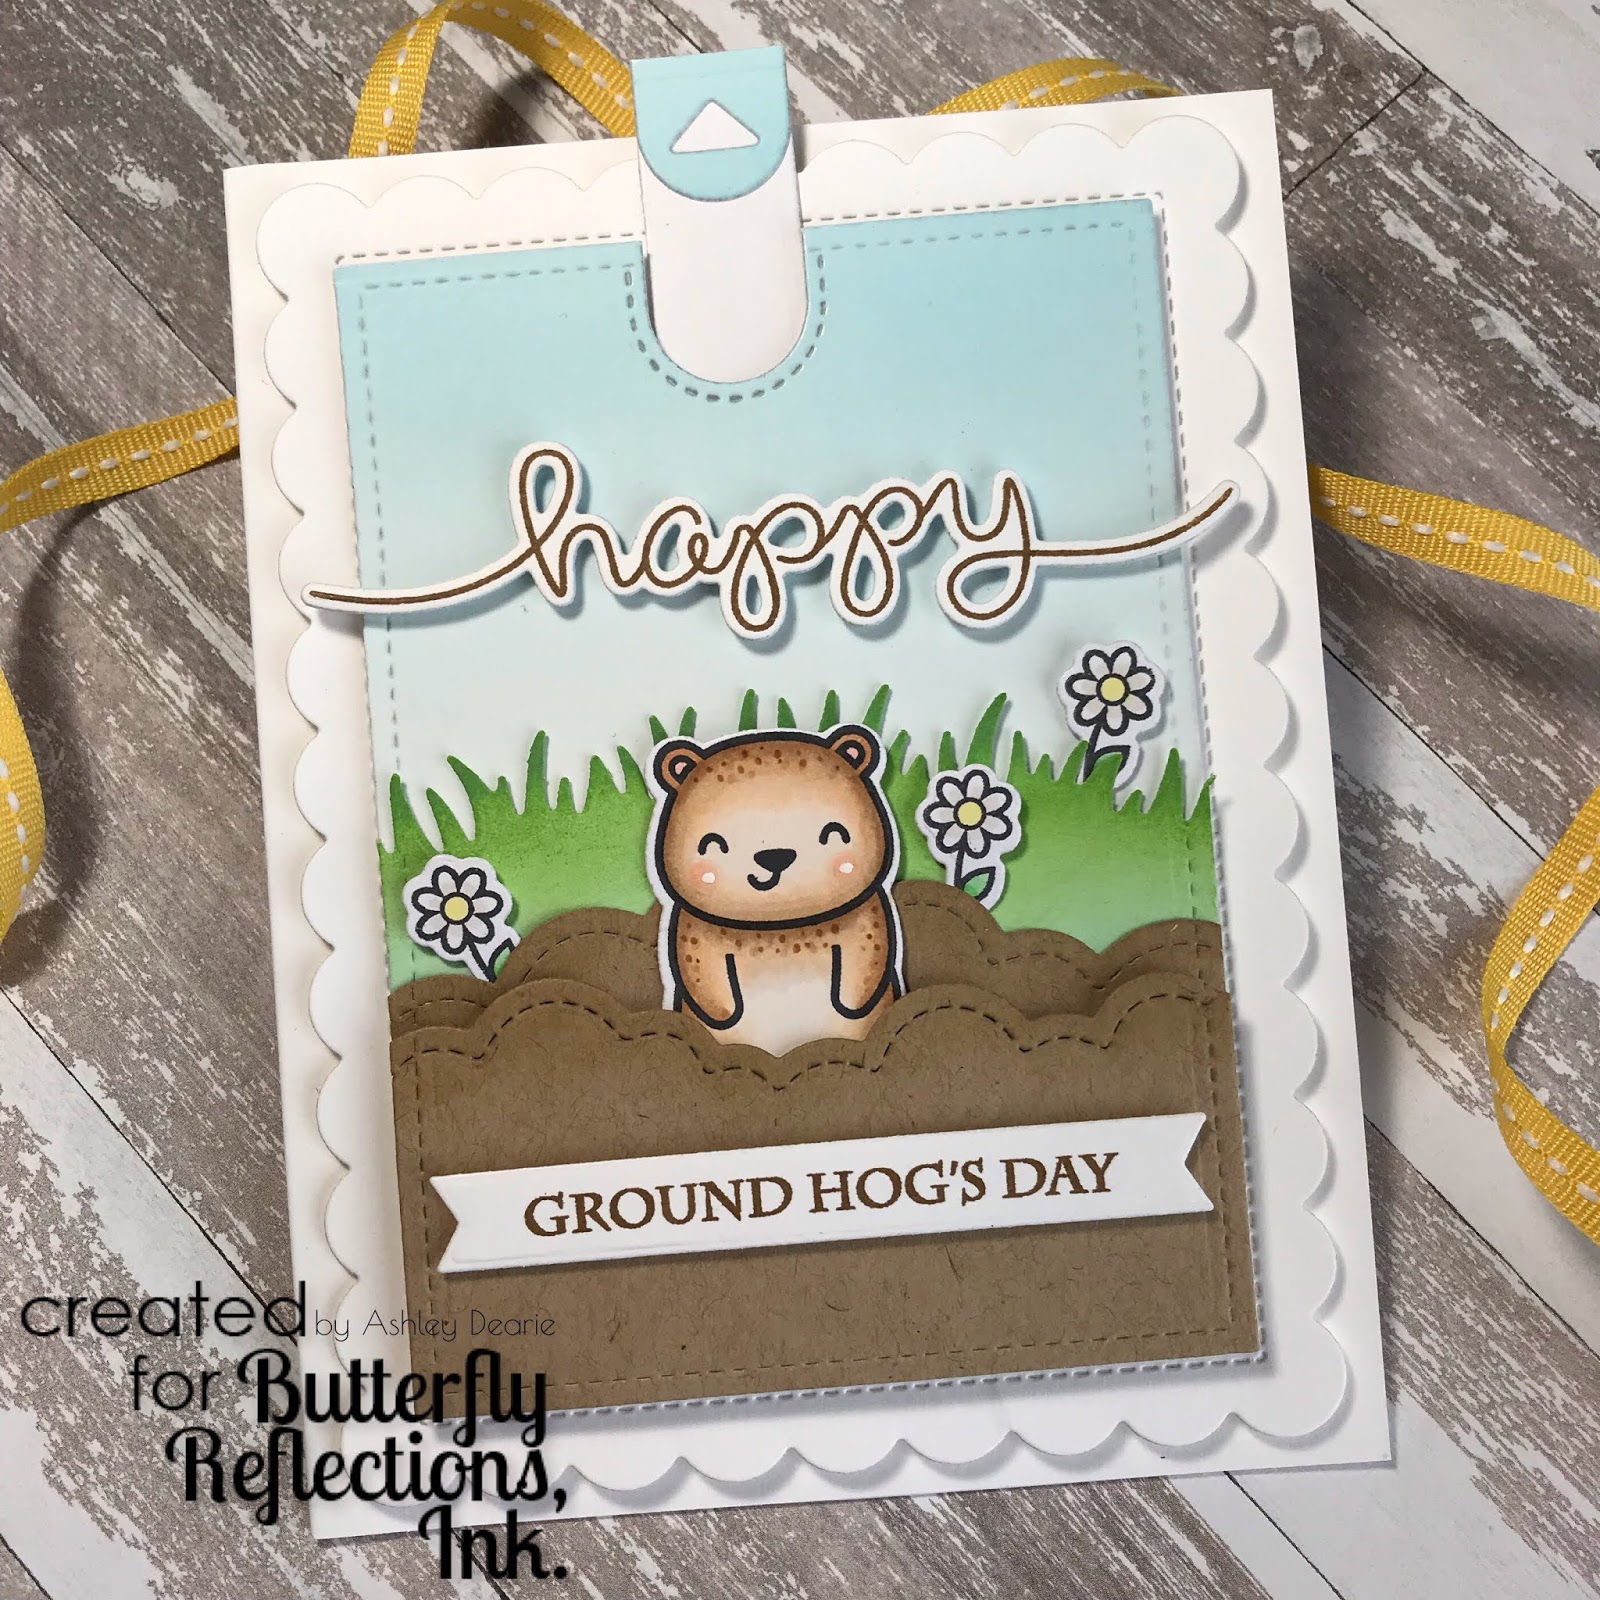
For the background, I first
ink-blended Distress Oxide Tumbled Glass onto Bristol Smooth cardstock and cut
it out using the Lawn Fawn Large Stitched Rectangle Stackables die (3.25”x4.5”). For the grass, I used the Lawn Fawn Simple
Grassy Hillsides in mint green cardstock, with a little Distress Oxide Mowed Lawn on the blades for extra dimension.
To create the soil, I used the Lawn Fawn Puffy Clouds Borders die in kraft
cardstock, adding a little Distress Ink in Antique Linen to the stitched edges.

To make my little groundhog pop up from his
hole, I used the new Lawn Fawn Let’s Toast Pull-Tab Add On. A full instructional video on how to assemble
the pop-up can be found on Lawn Fawn’s website under the item. It’s pretty simple. To make him pop between the layers, the track
was cut from all three backgrounds – the sky, grass, and background soil. Once the track was cut, I adhered all three together
with tape runner, pulled the track base through, and attached my groundhog. The foreground soil is adhered with foam tape,
leaving him room to move up and down with ease.
With a little positive thinking that Phil will indeed with see his
shadow, and spring in on the way, I added a few daisies from Lawn Fawn Easter Party and colored them again with Copic Markers (E40, Y11, YG41, G14) and cut them
out with the coordinated die. They were adhered with foam dots for a little
added dimension.

To create the sentiment,
I stamped “happy” from Lawn Fawn Big Scripty Words in kraft brown ink and cut
it out with the coordinating die. I layered
it with two additional versions in scrap white cardstock to give it some weight,
and again adhered it with foam adhesive.
Unfortunately, the “Groundhog’s Day” sentiment is from a very old set,
no longer produced, but it could easily be recreated with an alphabet stamp. I cut the sentiment out using the thinnest Lawn Fawn Everyday Sentiment Banners die and again attached it with foam adhesive. A little tip to shorten it to the length you need,
just realign the cut banner and run it through your die-cutting machine again.

After all the scene pieces were assembled, I
attached it to the large scallop rectangle from the Mama Elephant Framed Tags -
Waverly dies with foam tape, leaving room for the pull-tab to slide up and
down. Finally, I layered the scallop rectangle
onto an A2 card base with foam adhesive for even more depth.
Happy stamping everyone and we’re keeping our fingers crossed Phil will
see his shadow next month!
Very fun and clever card!
ReplyDeleteAmazing Post good artical your site
ReplyDeletehttps://www.telebrand.pk
This is the cutest stinkin' thing, not to mention the most creative, that I've seen in a very long time. Absolutely love it!
ReplyDeleteHe was an American business magnate, billionaire, and philanthropist
ReplyDeleteRoss Perot Information