
A Beary Special No Line Coloring Card

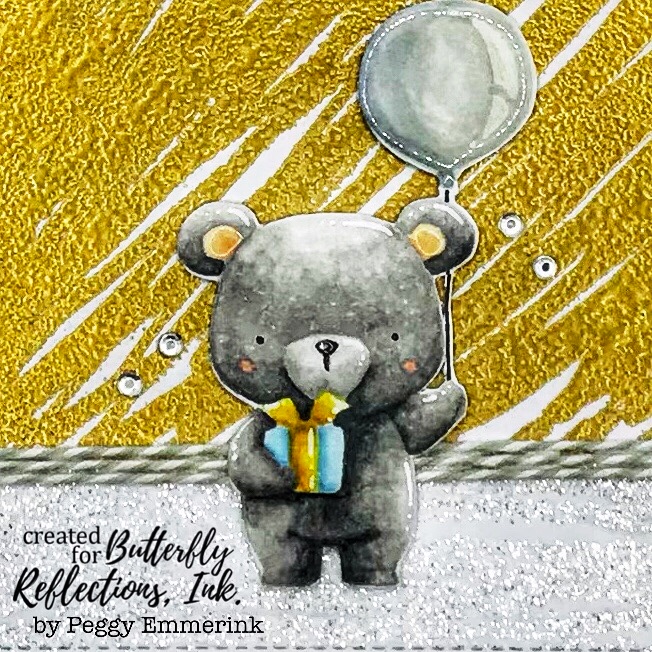
 Hi there! It's Peggy here. Today I want to show you a card with this super cute stamp set called Beary Special Birthday from My Favorite Things. 


This stamp set is so versatile, especially if you combine it with different card making techniques. No line coloring can be tricky, but for me Lawn Fawn's new Jellyfish inkpad was a game changer. I was always struggeling with either having harsh stamp lines showing through my no line coloring, or the stamp lines being so light that I couldn't see where to color anymore. This copic friendly ink from Lawn Fawn helps me a lot in getting my no line coloring the way I want it and I challenge you to try it as well! It's easier than you think! To finish the image I used a white gelly roll pen to add some highlights and I added Nuvo Crystal Dimensional Glaze to the balloon and set it aside to dry.


For the background I used a really cool technique you can do with the Wow Freestyle tool and embossing roller. This is basically a roller with which you can apply sticky embossing ink in any shape you like. You could do freehand writing or draw shapes like a heart or square. I started by cutting a panel using Lawn Fawn Large Stitched Rectangles. Next I wanted to give the panel a super cool texture to create a floor for the little bear to stand on and for the space behind the image. I started rolling the sticky ink onto the bottom of the panel in a horizontal motion. I coated it with WoW embossing powder white twinkle and heat set with my heat tool. I did a similar technique on the rest of the panel but rolled on the ink in a diagonal way. I coated it with Lawn Fawn embossing powder gold and heat set. 

I covered the back of the panel in foam tape to give it some dimension. I left a little bit of room between the pieces of foam tape to tie a piece of bakers twine around the panel. I finished the card by cutting the text 'Happy Day' from a piece of white card stock and adhered it to the panel using LF Oliver's Stitched ABCs. A neat trick to get your letters as straight as possible is to position them on your card and pick the entire word up with a long strip of washi or other low tack tape. Turn it around, add your adhesive and glue the entire word to your panel!


I hope you are inspired by this card and will see you again next week!

Long Distance Hugs,

Peggy

(Come say hi @peggyemmerink on Instagram) 


Comments

Popular posts from this blog

Baby Tags featuring the We R Memory Keepers Fuse Tool!

Happy Monday! This is Kim Hamilton and I am so very excited to be sharing my first post with you for Butterfly Reflections Ink! This is making my first day back to work after a two-week break a happy one! I am sharing baby gift tags today, one of my friends is expecting and not sure what she is having so I made one of each! I used my  We R Memory Keepers Fuse Tool  for the first time and loved it! I cut my own  Tim Holtz watercolor paper  to the size of tag I wanted (2 3/4 x 4 1/4) and cut the edges with my trimmer.  I stamped my sentiments that are by  Lawn Fawn Hello Baby  with VersaMark ink and used white embossing powder. For the girl tag I used a mix of Spun Sugar, Picked Raspberry and Abandoned Coral  Distress Inks  and for the boy tag I used Peacock Feathers, Cracked Pistachio and Twisted Citron  Distress Inks .  I sprayed both tags with some water and dabbed it off. I then stamped my images by My Favorite Things  Snuggle Bunnies  for the girl and Magical Dragons for th

Painting backwards....

Hello, hello!  Norine here from The Velvet Lemon blog .  It's been a week for introductions hasn't it, but let me just say how delighted I am to have been invited to join such a talented group of paper crafters, and to contribute here at Butterfly Reflections Ink!   Today I'm sharing with you, some cards I made by working backwards.  What do I mean, you wonder?  Well, it's a technique I sometimes enjoy doing, where you "smoosh" your water based ink pads on a craft mat, mist the colors with water and then drag your water color paper through it to create a pretty mess of color.     For today's cards, I wanted a blend of blues and greens (always a crowd pleaser) and yellows/pinks.  You will always be happier with the results when you keep the green/blues from overlapping with the yellow/pinks, because that just produces an unappealing mud color.   I used a variety of Tim Holtz Distress Inks for this project, but any water based inks w

Altenew’s 4th Anniversary Blog Hop Day 3 + Giveaway

Hey, hey BRI friends!  We're hopping today to celebrate the 4th Birthday of Altenew , one of our favorite stamping companies!  You should have arrived here from the Altenew blog , and we're glad you're here to share the excitement! There are prizes and inspiration and it's going to be FUN! With you today, is Norine from The Velvet Lemon  creating for Butterfly Reflections Ink  and I have some projects to share today, that I made using some recently released Altenew products .   First up, are these two cards created with the Mega Succulent stamp set .   I stamped the image onto water color paper using the MISTI , then turned on the music and sat and colored.   I used Faber Castell watercolor pencils so I could more easily control where the color would sit and then painted with a water brush .  I stamped the sentiment onto a piece of vellum, heat embossed with clear embossing powder to ensure that the ink wouldn't smudge, then tore the vel