
Coffee and Donuts anyone?

Hey everyone! Danielle here I know everyone is having a blast playing with the new Lawn Fawn goodies!!!  Well I couldn't keep my hands off the new Love you a Latte set....I LOVE coffee....mmmmm.....yum!

I wanted this to be a Thank you card for your coffee loving friend...So I paired the cute to go cup and a donut...a match made in heaven!


That Background is made with the Silver Embossing Paste and a stencil from Mr. Huey's. 

And for the inside a cute little coffee cup! 


 Check out the supplies I used!!! 


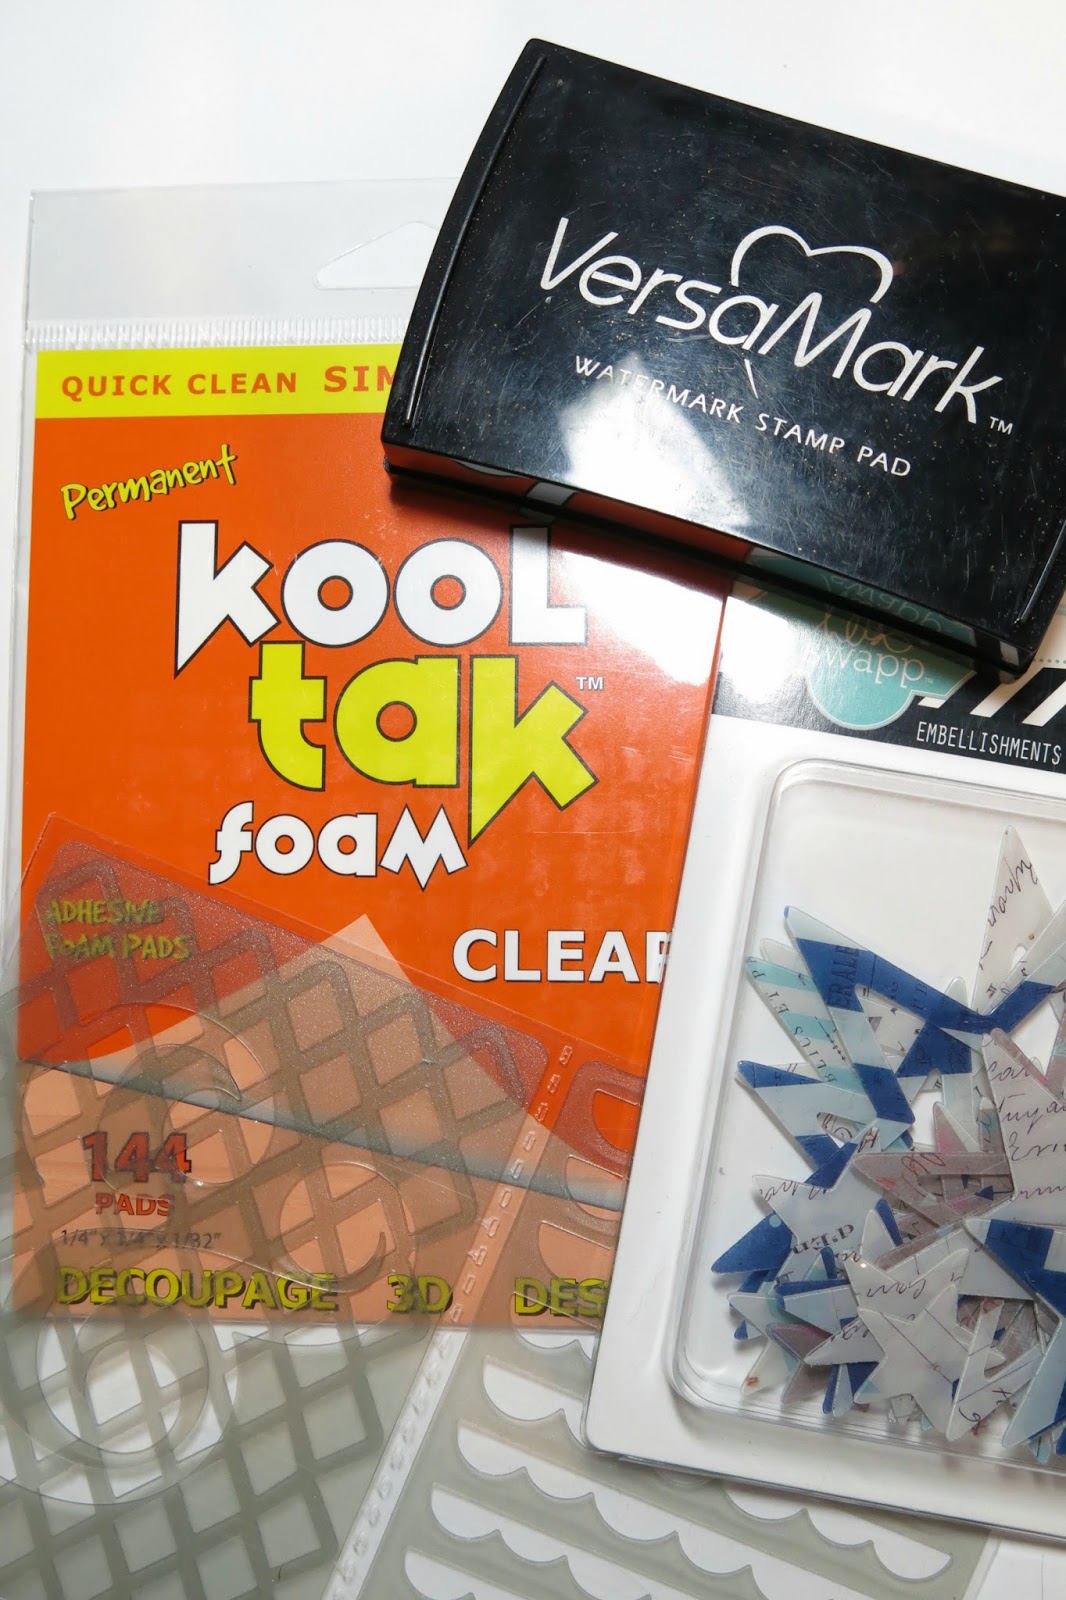
Quick Tip: For translucent items use the Kool Tak Foam Adhesive it's CLEAR!!! It also adds a little dimension too!


Head on over to the BRI shop to get your hands on these amazing products!!!! Click any link below!

Materials:
Lawn Fawn - Love you a Latte Stamps
Lawn Fawn - Love you a Latte Dies
Versamark
Kool Tak
Shmielle 6 x 6 Paper Pad
Heidi Swapp - Hello Today Clear Embellishment Stars
Brighton Pier Mr. Huey Stencils
Silver Embossing Paste
Ocean Melody Alpha Stickers

See you next week!
~Danielle

Comments

  1. oh my word!! so lovely!! i LOOOOOOOVE the silver embossing paste!!!! and the stitching is AWESOME!!!! i must use that coffee set (too bad i don't drink it..ha ha!!)

    ReplyDelete

Post a Comment

Popular posts from this blog

Baby Tags featuring the We R Memory Keepers Fuse Tool!

Happy Monday! This is Kim Hamilton and I am so very excited to be sharing my first post with you for Butterfly Reflections Ink! This is making my first day back to work after a two-week break a happy one! I am sharing baby gift tags today, one of my friends is expecting and not sure what she is having so I made one of each! I used my  We R Memory Keepers Fuse Tool  for the first time and loved it! I cut my own  Tim Holtz watercolor paper  to the size of tag I wanted (2 3/4 x 4 1/4) and cut the edges with my trimmer.  I stamped my sentiments that are by  Lawn Fawn Hello Baby  with VersaMark ink and used white embossing powder. For the girl tag I used a mix of Spun Sugar, Picked Raspberry and Abandoned Coral  Distress Inks  and for the boy tag I used Peacock Feathers, Cracked Pistachio and Twisted Citron  Distress Inks .  I sprayed both tags with some water and dabbed it off. I then stamped my images by My Favorite Things  Snuggle Bunnies  for the girl and Magical Dragons for th

Painting backwards....

Hello, hello!  Norine here from The Velvet Lemon blog .  It's been a week for introductions hasn't it, but let me just say how delighted I am to have been invited to join such a talented group of paper crafters, and to contribute here at Butterfly Reflections Ink!   Today I'm sharing with you, some cards I made by working backwards.  What do I mean, you wonder?  Well, it's a technique I sometimes enjoy doing, where you "smoosh" your water based ink pads on a craft mat, mist the colors with water and then drag your water color paper through it to create a pretty mess of color.     For today's cards, I wanted a blend of blues and greens (always a crowd pleaser) and yellows/pinks.  You will always be happier with the results when you keep the green/blues from overlapping with the yellow/pinks, because that just produces an unappealing mud color.   I used a variety of Tim Holtz Distress Inks for this project, but any water based inks w

Altenew’s 4th Anniversary Blog Hop Day 3 + Giveaway

Hey, hey BRI friends!  We're hopping today to celebrate the 4th Birthday of Altenew , one of our favorite stamping companies!  You should have arrived here from the Altenew blog , and we're glad you're here to share the excitement! There are prizes and inspiration and it's going to be FUN! With you today, is Norine from The Velvet Lemon  creating for Butterfly Reflections Ink  and I have some projects to share today, that I made using some recently released Altenew products .   First up, are these two cards created with the Mega Succulent stamp set .   I stamped the image onto water color paper using the MISTI , then turned on the music and sat and colored.   I used Faber Castell watercolor pencils so I could more easily control where the color would sit and then painted with a water brush .  I stamped the sentiment onto a piece of vellum, heat embossed with clear embossing powder to ensure that the ink wouldn't smudge, then tore the vel