
Partial Die Cutting Technique With Birthday Balloons


Hi Crafty Friends!
Ali here with a fun card using the partial die-cutting technique to give it some "wow". The sets I have used today are from Sunny Studio - Bold Balloons and Birthday Balloons. If you are looking for a super versatile birthday set - look no further! These balloons can be used for all ages, male or female and you can vary the colour to your hearts content to suit the recipient!!
I was reminded of this fun partial die-cutting technique by the amazing Jennifer McGuire, who did a recent video explaining it - so I encourage you to have a look at it if you are wanting further details.  The first thing I did was to draw a pencil line across a piece of white card. Then I layed down the dies where I wanted them (keep in mind the parts above the die will be the bits "sticking" up from the top of the card).
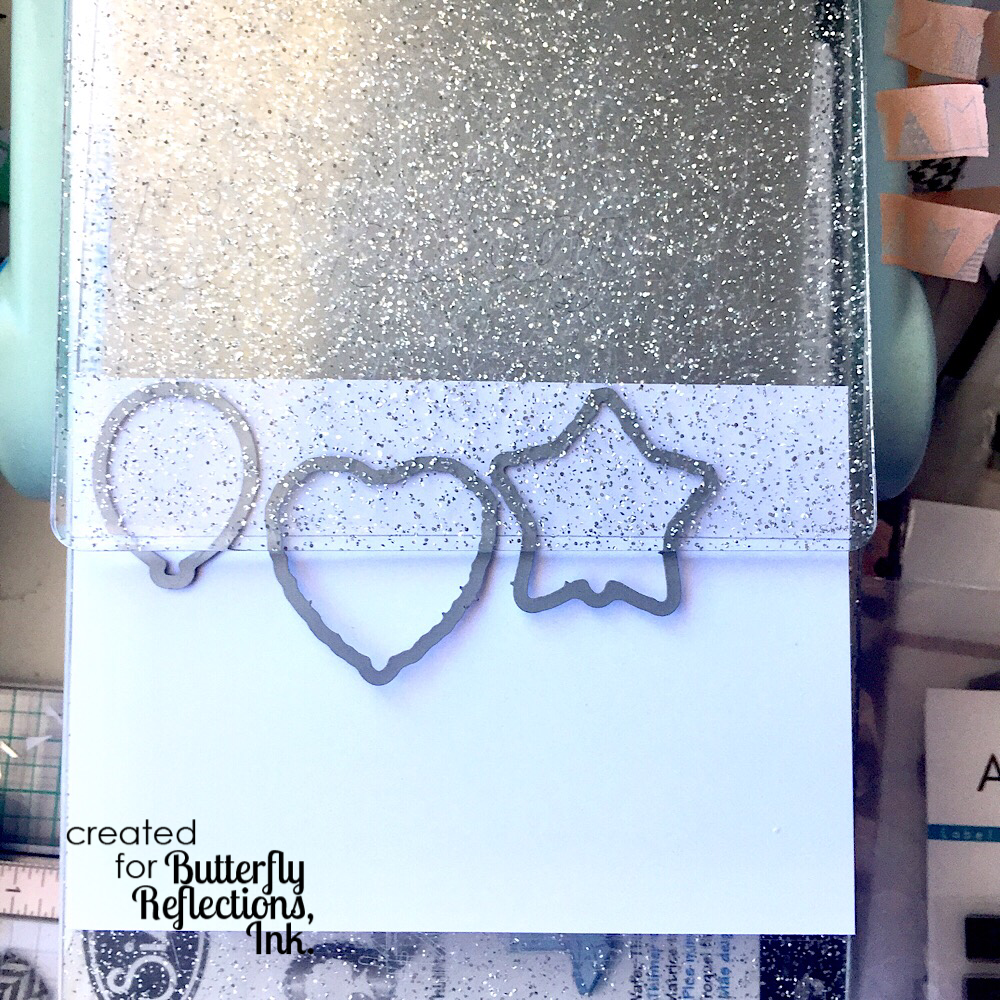
I then placed my top cutting plate so that the pencil line was about mid-way through that tapered edge that my cutting plate has. Then I ran it through my big shot.  You can carefully cut along the pencil line between the die cut images to remove the negative piece of paper. I repeated the process with the oval balloon die for the last balloon.
Once you have your top die-cut piece, you can proceed to stamp your images in the die-cut areas/shapes on the top of your card.  These stamps are 3-step HINT: sometimes I find it easier to word 'backwards' with layered stamps - stamp the darkest/smallest area stamp first, then mid colour, then light colour - this does make them easier to line up I find!! 
Ink for the balloons & sprinkles used (dark to light colours):
 Red: Distress inks - Barn Door, Candied Apple, Abandoned Coral
Yellow -Fossilised Amber, Mustard Seed, Squeezed Lemonade
Aqua - Peackock Feathers, Broken China, Tumbled Glass
 Purple - Altenew cubes Deep Iris, Lavender fields, Soft Lilac
 I then finished off the balloons by stamping the strings in Versafine ink.
I stamped the sentiment in Versafine Ink, and the Happy in Versamark ink on black card and white embossed. I placed this panel on the front of a white base-card and trimmed the bottom down a little so that it will fit in an envelope.
So bright and full of fun!  These two sets are the ones to get if you are looking to get great value from your stamp sets and dies. Thanks so much for joining me - see you again soon!
Ali xx

Comments

Post a Comment

Popular posts from this blog

Baby Tags featuring the We R Memory Keepers Fuse Tool!

Happy Monday! This is Kim Hamilton and I am so very excited to be sharing my first post with you for Butterfly Reflections Ink! This is making my first day back to work after a two-week break a happy one! I am sharing baby gift tags today, one of my friends is expecting and not sure what she is having so I made one of each! I used my  We R Memory Keepers Fuse Tool  for the first time and loved it! I cut my own  Tim Holtz watercolor paper  to the size of tag I wanted (2 3/4 x 4 1/4) and cut the edges with my trimmer.  I stamped my sentiments that are by  Lawn Fawn Hello Baby  with VersaMark ink and used white embossing powder. For the girl tag I used a mix of Spun Sugar, Picked Raspberry and Abandoned Coral  Distress Inks  and for the boy tag I used Peacock Feathers, Cracked Pistachio and Twisted Citron  Distress Inks .  I sprayed both tags with some water and dabbed it off. I then stamped my images by My Favorite Things  Snuggle Bunnies  for the girl and Magical Dragons for th

Painting backwards....

Hello, hello!  Norine here from The Velvet Lemon blog .  It's been a week for introductions hasn't it, but let me just say how delighted I am to have been invited to join such a talented group of paper crafters, and to contribute here at Butterfly Reflections Ink!   Today I'm sharing with you, some cards I made by working backwards.  What do I mean, you wonder?  Well, it's a technique I sometimes enjoy doing, where you "smoosh" your water based ink pads on a craft mat, mist the colors with water and then drag your water color paper through it to create a pretty mess of color.     For today's cards, I wanted a blend of blues and greens (always a crowd pleaser) and yellows/pinks.  You will always be happier with the results when you keep the green/blues from overlapping with the yellow/pinks, because that just produces an unappealing mud color.   I used a variety of Tim Holtz Distress Inks for this project, but any water based inks w

Altenew’s 4th Anniversary Blog Hop Day 3 + Giveaway

Hey, hey BRI friends!  We're hopping today to celebrate the 4th Birthday of Altenew , one of our favorite stamping companies!  You should have arrived here from the Altenew blog , and we're glad you're here to share the excitement! There are prizes and inspiration and it's going to be FUN! With you today, is Norine from The Velvet Lemon  creating for Butterfly Reflections Ink  and I have some projects to share today, that I made using some recently released Altenew products .   First up, are these two cards created with the Mega Succulent stamp set .   I stamped the image onto water color paper using the MISTI , then turned on the music and sat and colored.   I used Faber Castell watercolor pencils so I could more easily control where the color would sit and then painted with a water brush .  I stamped the sentiment onto a piece of vellum, heat embossed with clear embossing powder to ensure that the ink wouldn't smudge, then tore the vel