

Good morning everyone, Amy Copeland here with a shaker card featuring products from a hodgepodge of manufacturers. I started with my background piece. I used a piece of Tim Holtz Distress Watercolor Paper and used a paintbrush to paint some clean water all over the panel. I then smooshed some Faded Jeans Distress Oxide ink onto an Acrylic Block. I picked up some of the pigment with the paintbrush and lightly painted a wash of color all over the background. I left it a little streaky on purpose because I thought it looked like sunlight streaming through the water.
After the panel was dry, I used the Hero Arts Abstract Waves stencil and lightly pounced more Faded Jeans Distress Oxide ink over the stencil with my Mini Ink Blending Tool. While I let that ink dry, I got to work on my shark image from Avery Elle. I stamped the shark onto smooth white cardstock with Lawn Fawn Jet Black ink and used my Copic markers to color him in. I used the coordinating Sea-Prise dies to cut him out, the set him aside. I used Lawn Fawn Bunting Borders to cut two borders from Really Rainbow patterned paper by Lawn Fawn. The next step was the sentiment. I used the Smile die from Hero Arts Smile Stamp N Cut set to cut a piece of Lawn Fawn Guava cardstock for a fun pop of color that tied in with the pink in the bunting and also the inside of the shark's mouth. The corresponding stamp set was used to stamp the words "Sending A" onto a little scrap of Lawn Fawn Cilantro cardstock with VersaMark ink and sprinkled White Embossing Powder onto the ink. I tapped off the excess powder and used my Heat Tool to set it until the powder was smooth and melted.

The next step was to get to work on the shaker mechanism. I used a Stitched Frame Die on white cardstock to cut out the frame and cut a piece of Acetate To size to fit behind the frame. Before adhering the acetate, I used Mini Glue Dots to attach the shark and busting pieces to the back side of the frame. I then used 1/8 " Scor Tape on all of the sides of the frame to attach the acetate onto the back of the frame. The next step was attaching the blue panel onto the standard sized card base (5 1/2 x 4 1/4) with Mono Multi Liquid Glue. I then trimmed Foam Tape into thin strips with scissors and adhered the strips all around the back of the frame, making sure there were no gaps in between so none of the teensy sequins would escape.

Once the frame was ready, I poured some 3 mm Sparkling Clear sequins by Pretty Pink Posh directly onto the center of the blue piece, removed the release paper from the foam tape, and adhered the acetate-backed frame piece down onto the card base.
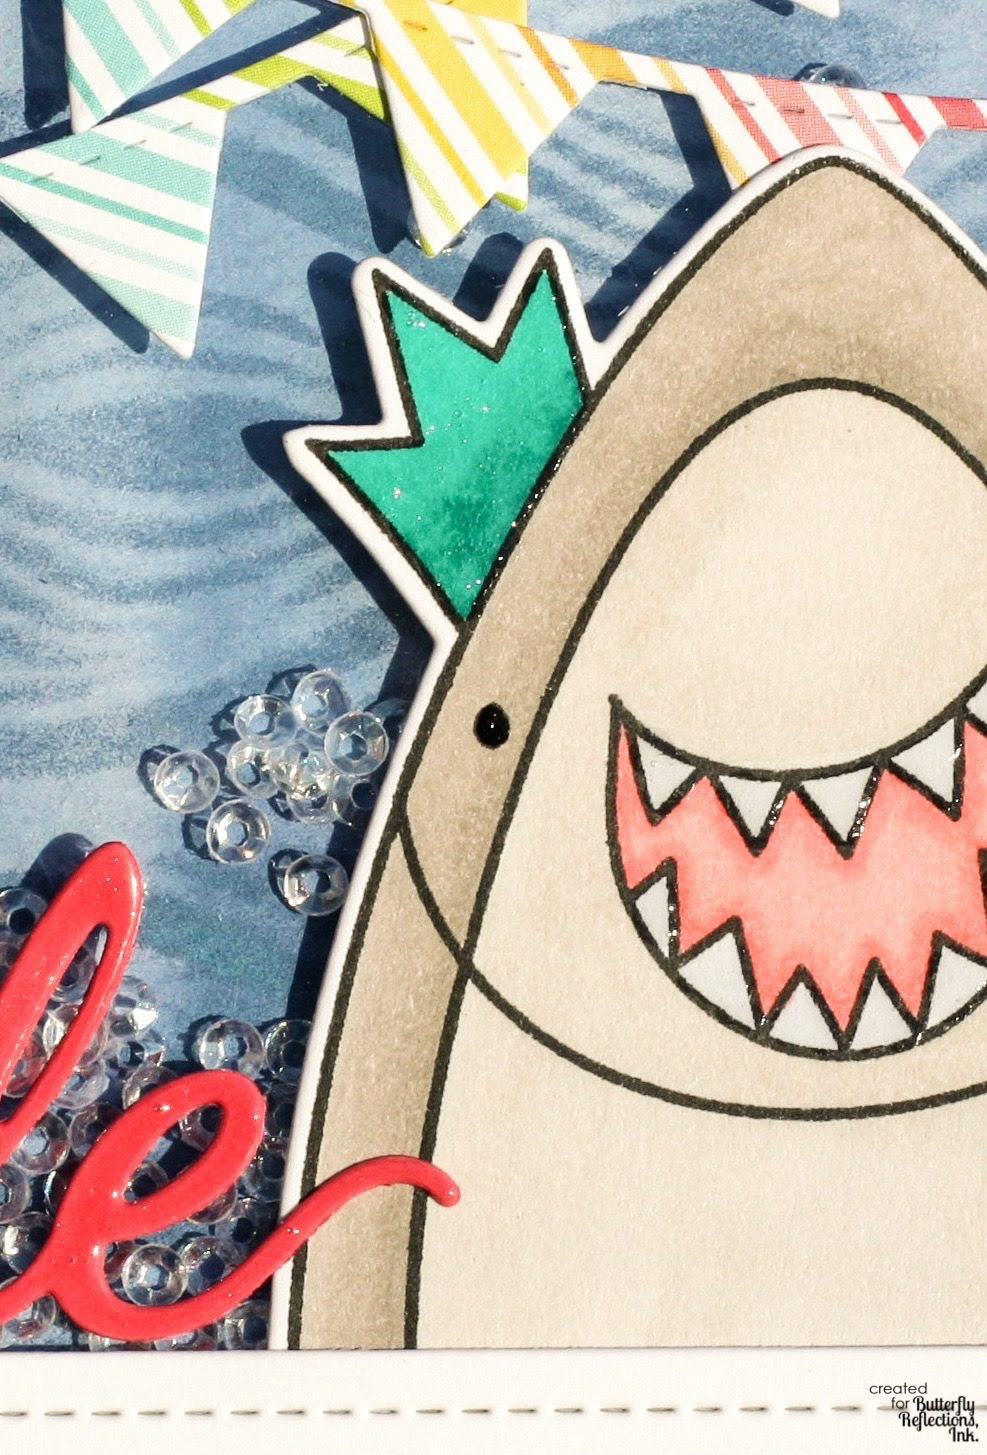
The final steps were adhering the sentiments onto the front of the card panel and a little embellishment. I used Glossy Accents to adhere the word Smile and I used The 1/8" Scor Tape to adhere the "Sending A" banner. The last steps were using a black Glaze Pen on the shark's eyes and brushing Spectrum Noir clear overlay pen onto the word Smile and the crown. I finished off the word die cut, the crown, and the teeth with a layer of Glossy Accents. Hope you enjoyed this card and that it inspires you to create your own. See you next week! :)
Comments
Post a Comment