
Hi, crafty friends! Heather here and I have a mini album to share with you....I used a Paige Evans mini album cut file with a collection of products from Pink Paislee Paige Evans. I created the album for pictures taken at a Dancing With The Stars Live show earlier this year. It was super fun and had too many pictures for just a scrapbook layout! Using the cut file made it easy to create the album and Paige Evans provides a helpful tutorial on her YouTube page.

To embellish the front, I used a combination of Pick Me Up ephemera and alpha stickers from my stash. The flair is from an etsy shop called Cuts2Luv and she has beautiful flair pieces.
To enclose the album, I glued a piece of twine around it and also adhered tiny velcro circles from my stash.
To make the base of the album and tags, I used Pink Paislee Take Me Away 6 x6 paper pad and the Pink Paislee Pick Me up 6 x6 paper pad . The charms attached to the outside of the album are a mixture of pieces from Tim Holtz, Elle's Studio and Crate Paper.

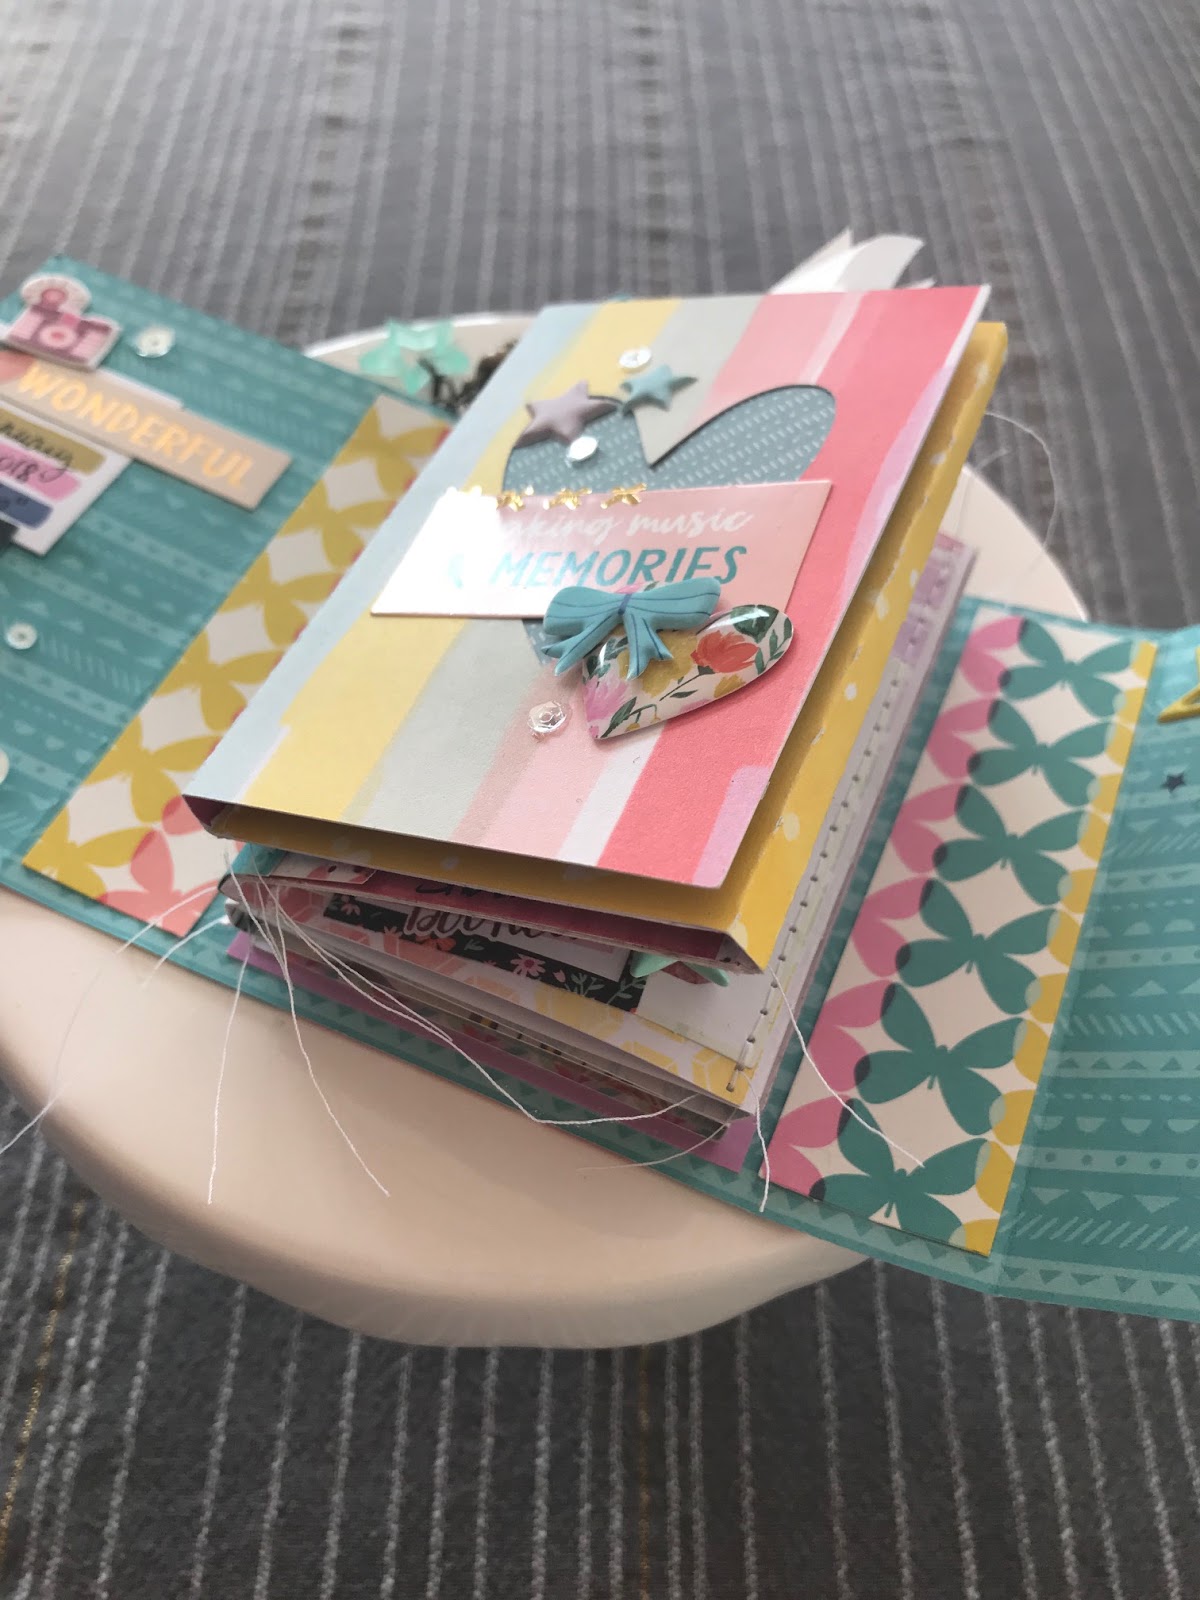
I decorated the inside with Pick Me Up puffy stickers, Pick Me Up Rubons and Pinkfresh Studio The Mix puffy stars. Some of the layers and details were fussy cut from papers included in the Pick Me Up Mini Swatch pads. I also snuck in a few stars from Freckled Fawn puffy stickers.

To create texture, I used border punches and machine stitched a lot of the pages and tags.
I also used some ribbon and brads from my stash.
The cut file is designed to fold up like an accordion which also means there are two sides to decorate and add photos!

I tucked in as many stickers and die cuts that would fit. That is the beauty of working with a full collection because you know everything already matches! I pulled pieces from the Pick Me Up Accent Stickers, Pick Me Up Journaling Spots, & Take Me Away Ephemera.

To mix up the design and matting of my photos, I stapled a few pictures together with my mini attacher. They were pictures I wanted to use, but not ones with a big story behind them so I didn't mind having some hidden.

One of the reasons I love making mini albums so much is because it gives you the freedom to print and crop your photos in all different sizes. I think it is so much fun and keeps it interesting from start to end!

I created a fold out mini in my mini...yeah, that's a little corny, but I used another little velcro circle to secure it and added one of the Pink Paislee Take Me Away paperclips.
To finish up, I adhered some pretty Pretty Pink Posh 6mm clear sequins and Pretty Pink Posh 4mm clear sequins with glossy accents in my Precision Tip glue bottle.....boy, do I love that glue bottle!!
There are still so many details to mention, but if I did, this post might be the longest post ever!! I did create a short flip through video on my YouTube channel though where you can see all of the tags and interactive elements as well!
click here..... https://youtu.be/1sHTN9OEQX0
Thanks so much for taking a look! I hope you are inspired to create your own mini album...maybe for pictures you took at a family celebration, a day trip, or a show you saw! If you do, I'd love to see! Please feel free to comments or questions below.
To pick up these products for yourself, head over to the Butterfly Reflections Ink online store.
Have a great week! See you next week.
xoxo Heather
Comments
Post a Comment