

Hey friends!
It's Jess and I'm sharing this quick and quirky set of mini cards using Maki a Wish from Your Next Stamp. I love this set so much!
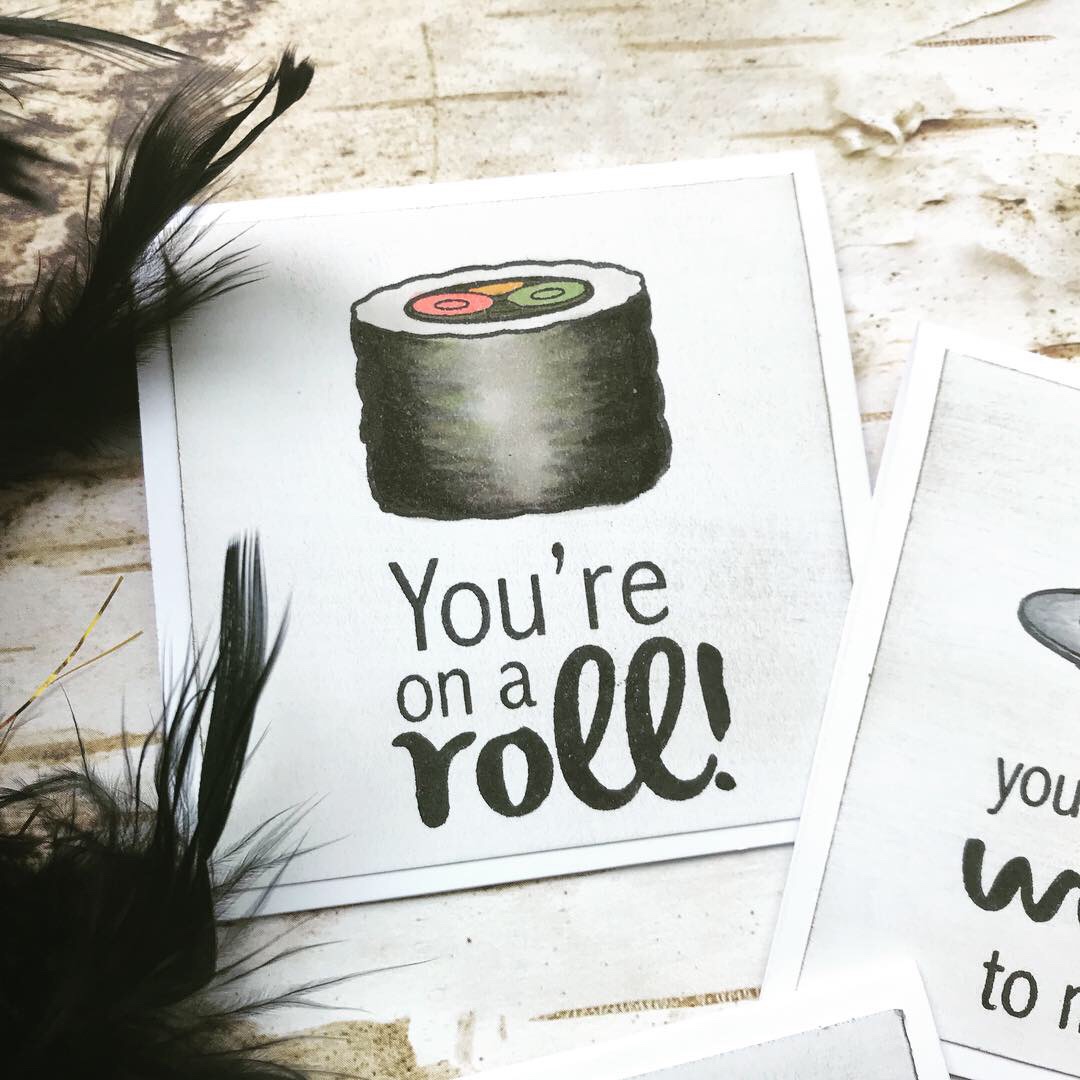
I decided to make 3x3 note cards for this, so I cut down some white cardstock to 6in x 3in. This way, when I folded it in half, I had the perfect 3x3 note card. They're so tiny and cute!

I cut smaller pieces for my card fronts - each piece measured 2.75x2.75. I used my Mini MISTI to stamp each note card. I used the Maki a Wish stamp set for this - I absolutely love all of these punny sentiments and adorable little sushi related images. They're adorable!

Once all of my sentiments and images were stamped out, I colored them up with my Copic markers. I also took a Clarity Stencil Brush and Hickory Smoke Distress Ink and brushed the front of each card front. This gave me a color contrast between the card front and card base and added a little more interest and depth to my note cards.

I mounted my card fronts to their bases and that's it! This is such a quick and easy project, but they turned out so cute. These would be perfect as lunch box love notes or precious cards to give with small gifts.
Hugs and love to you all,

It's Jess and I'm sharing this quick and quirky set of mini cards using Maki a Wish from Your Next Stamp. I love this set so much!
I decided to make 3x3 note cards for this, so I cut down some white cardstock to 6in x 3in. This way, when I folded it in half, I had the perfect 3x3 note card. They're so tiny and cute!
I cut smaller pieces for my card fronts - each piece measured 2.75x2.75. I used my Mini MISTI to stamp each note card. I used the Maki a Wish stamp set for this - I absolutely love all of these punny sentiments and adorable little sushi related images. They're adorable!
Once all of my sentiments and images were stamped out, I colored them up with my Copic markers. I also took a Clarity Stencil Brush and Hickory Smoke Distress Ink and brushed the front of each card front. This gave me a color contrast between the card front and card base and added a little more interest and depth to my note cards.
I mounted my card fronts to their bases and that's it! This is such a quick and easy project, but they turned out so cute. These would be perfect as lunch box love notes or precious cards to give with small gifts.
Hugs and love to you all,
Comments
Post a Comment