
I know, I know. Crafters have moved on from Valentine's Day projects, but it's actually Valentine's Day so I had to share one last card! I made this "Galentine's Day" card for a friend of mine whose husband is deployed. I'm pairing it with some bath bombs, so I used an underwater theme and, for this non-traditional card, I went with a more non-traditional color palette than the usual reds and pinks associated with Valentine's Day.


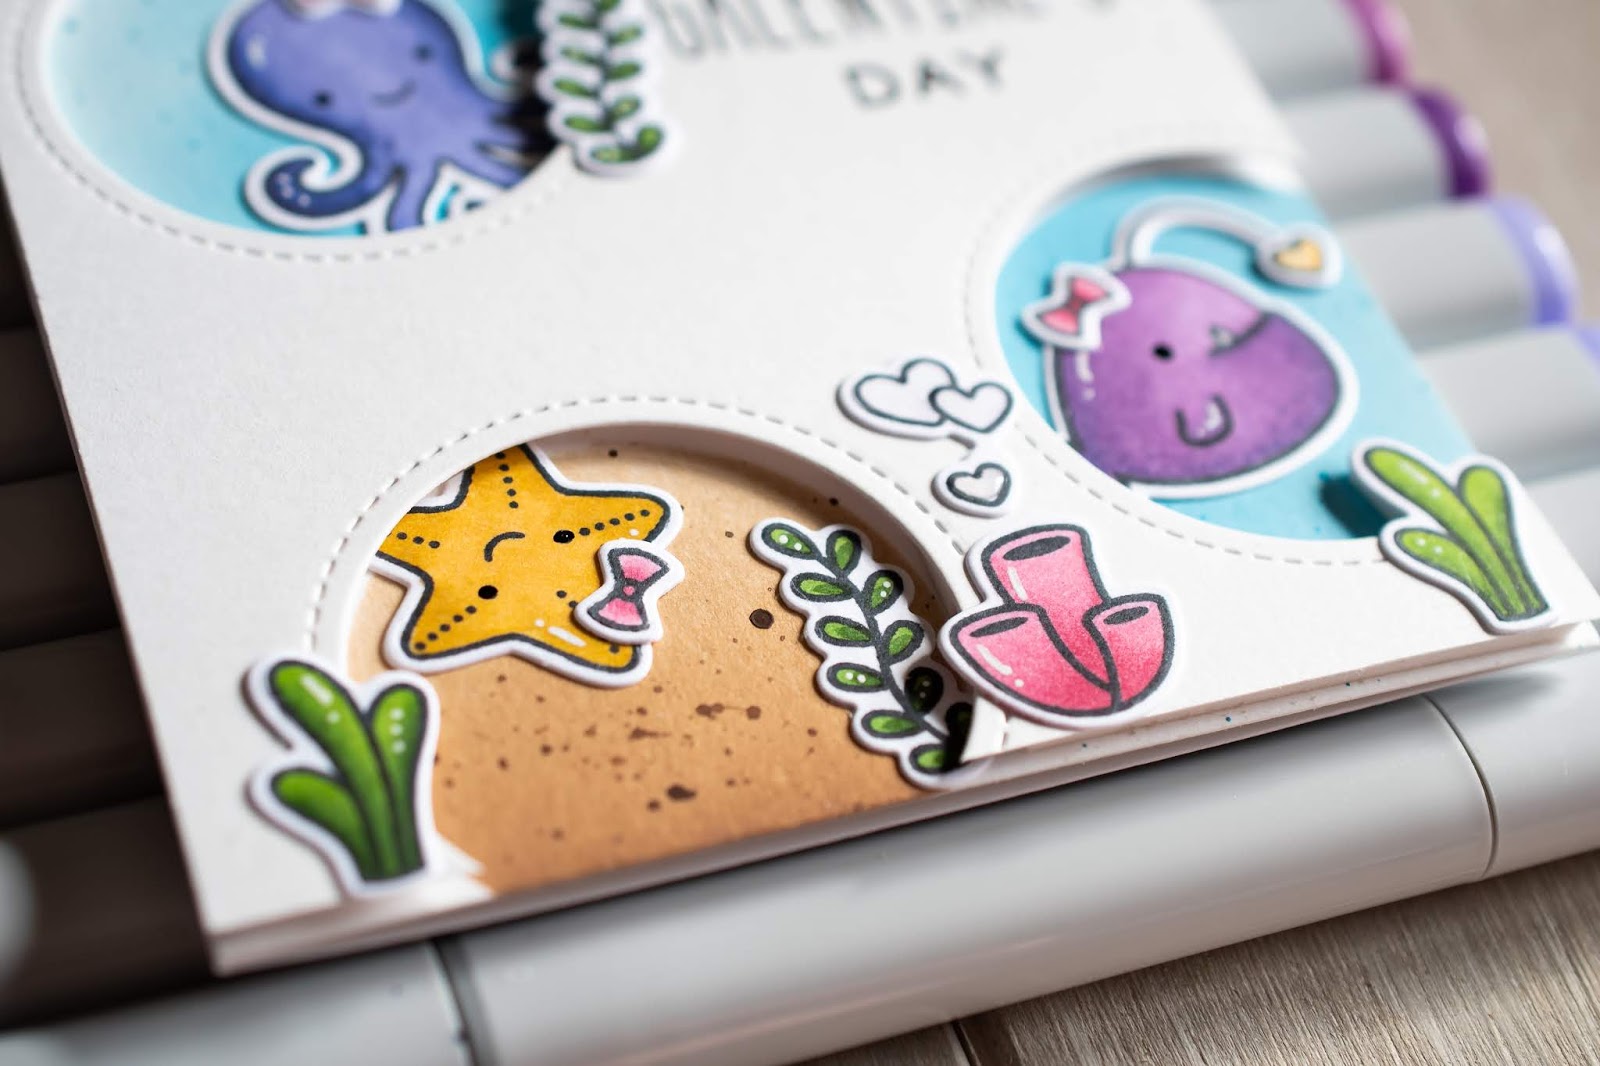
I just love this peek-a-boo style card! To start, I cut smooth Bristol card stock to 4.25 x 5.5" and used Lawn Fawn stitched circle dies to cut circles in random spots ... this piece will become the upper layer. On a second piece of smooth Bristol card stock (also cut to 4.25 x 5.5"), I used mermaid lagoon and vintage photo Distress Oxide Inks to add color in the areas that would fall beneath the circles ... this piece will become the lower layer. I also splattered some blue and brown acrylic paint on the lower layer (neat circles are not really necessary for the oxide ink or the paint splatters because anything out of the circular area will be hidden by the upper layer).

While the bottom layer dried, I stamped images from Lawn Fawn's you are sublime, octopi my heart, and so jelly stamp sets with black Copic-friendly ink. I colored the images with Copic markers (V12, V15 and V17; V05, V06 and V09; BV01, BV02, BV04 and BV08; R81, R83 and R85; YG25, YG17 and YG67; Y21 and Y26) and cut them out with the coordinating dies (you are sublime dies, octopi my heart dies and so jelly dies).
Next, I stamped the sentiment onto the top layer with black Versafine ink, quickly added clear embossing powder on top and heat set. (For the sentiment, I selectively inked the happy and day words from Lawn Fawn's simply sentiments stamp set, and used Milo's ABCs stamp set to spell out Galentine's). I added details to the stamped images with a white gel pen (highlights) and a black gel pen (eyes) and added glossy accents to the heart bubbles.
To give the card extra dimension, I used foam tape to adhere the top layer (with the die cut holes) to the bottom layer (with the ink blended backgrounds) and glued both layers to a card base. I tucked the sea creatures around the card so that they would be peeking out of the holes (trimming as necessary to fit better) and swimming around the card ... my favorite is that little upside-down star fish at the bottom!

This style of card can be modified for so many different occasions. I hope that you give it a try, and I hope that you have a wonderful Valentine's Day/Galentine's Day/Friday, crafty friends!
Comments
Post a Comment